Windows 10
Local Printer
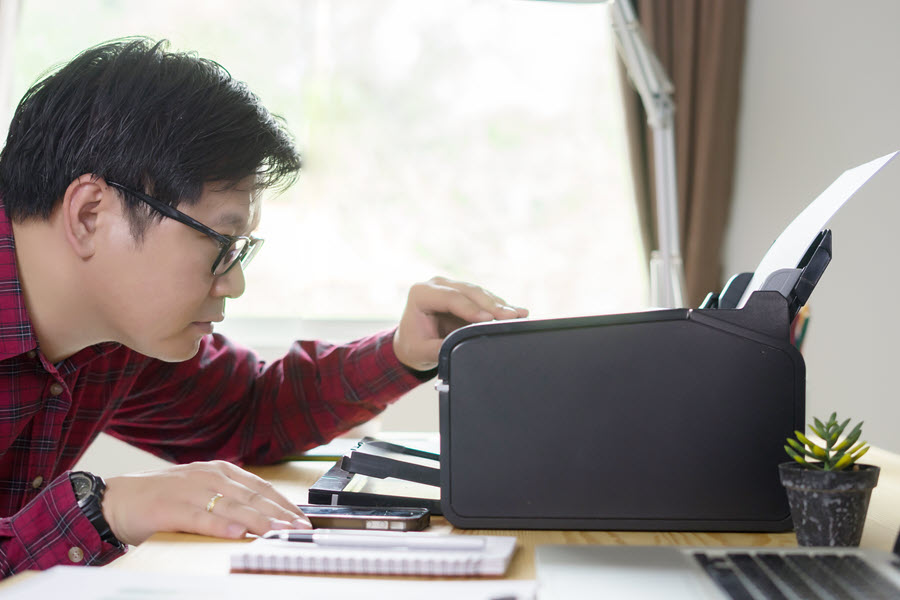
Setting up a local printer to Windows 10 should be fairly simple. Usually all you need to do is connect your printer to your computer with a USB printer cable. This cable may not be supplied with your printer so double check you have one first. Once connected your PC should automatically detect the new device and will appear in the list when you go to print your document. However, if this does not happen, you can try the following steps:
1: Click the Windows logo.
2: Click “PC settings”.
3: Select “Devices”.
4: Click “Printers & Scanners”.
5: Select “Add a printer or scanner” and wait for your PC to search for available devices. Your printer should appear here.
6: If your printer does not appear in this list you can select “The printer that I want isn’t listed” to follow the built-in Wizard to locate it.
Network Printer
To connect your computer to your Wi-Fi network you’ll need to first connect it to your PC with a USB printing cable as above. Your printer should come with some software which you can then install to connect your printer to your network. Don’t worry if your printer hasn’t got any physical software, you can search the manufacturer’s website for a downloadable version – this will likely be the most up-to-date version too.
Once your printer is connected to your Wi-Fi network, Windows 10 should automatically recognise it, but if it doesn’t, you can follow the same numbered steps above in “Local Printer” to troubleshoot any issues.
Mac
Apple uses a feature called AirPrint on its devices to make connecting to your printer as simple as possible. AirPrint will automatically install the most recent driver software that your printer requires.
Local Printer
To connect a local printer to your Mac, you just need to attach the two with a USB printer cable. It should automatically detect and install any software needed to run the printer.
Network Printer
To connect your printer to your Wi-Fi network, you’ll need to use a USB printer cable as above and the software that your MacOS downloads should take you through the steps of connecting it to your network. At this point you can remove the cable if you wish to.
Once your printer is connected you can follow the steps below to print:
- In the file you wish to print, click File.
- Select Print.
- In the pop-up window slick on Nearby Printers and choose your printer.
Hopefully this guide has helped you with any information you need to connect your computer to your printer. If you have any further issues, just reach out.